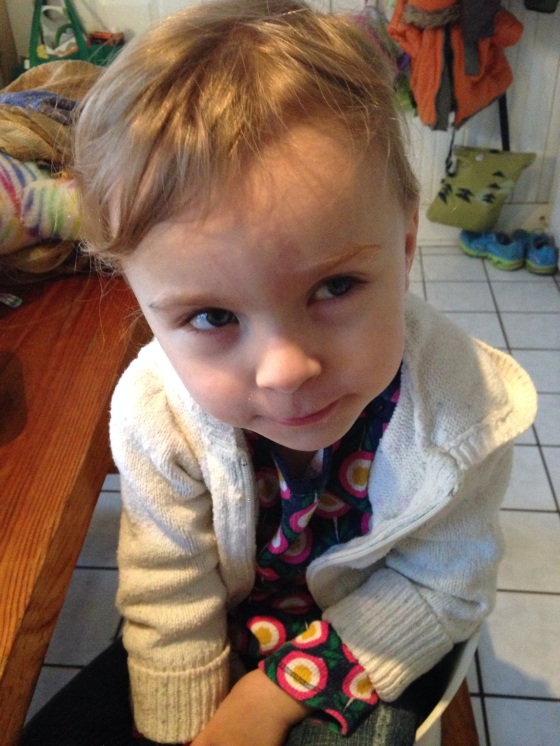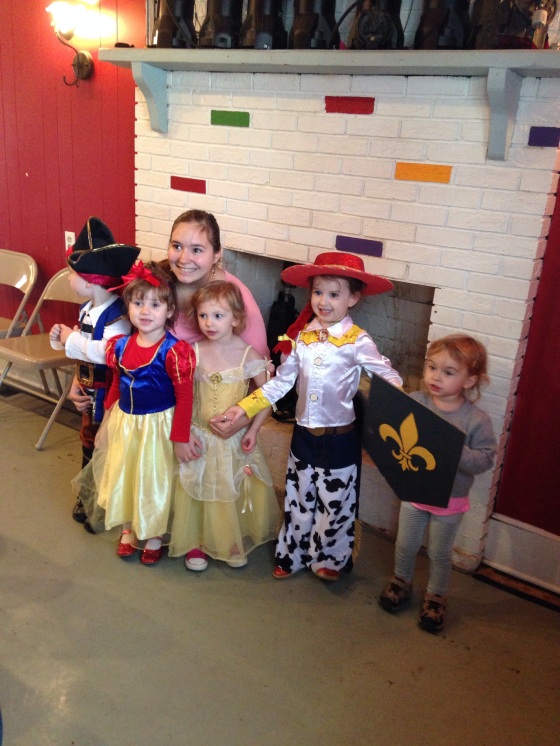
This year, Bastien and I were determined to make Elise’s Halloween costume. We even explained to her that on Halloween you can dress up as anything or one you want to be. And she told us what she wanted to be – a crocodile! (Of all things, she is both scared and excited by).
We even did this with plenty of time to spare so that we could get started in time, but then her birthday happened and her birthday party (that brought in a staggering 30+ people and me swearing that next year we will not have it in our tiny home) and then a whole household of sicknesses that helped us to make excuses for our procrastination.
So with a month full of excuses in our pocket and one week to go before the candy-filled day, Papa Bastien decided he wanted to make a sword out of some cardboard we had lying around. After the sword, came a shield and a realization that it would be a lot easier to make a knight’s costume than a crocodile costume.
So that’s what happened. With our powers combined, Bastien and I made a pretty awesome looking knights costume using only items we already had in our home. I scrounged around her closet and found some sparkly silver tights and a grey hoodie to keep her warm and silvery. Below, I describe how we put it all together.

Materials & Supplies
•Medium-weight cardboard (lots and lots of it!)
•Card stock or thick paper
•Duct tape
•Ribbon or thick string
•Scissors
Sword
Trace a sword shape into cardboard, cut it out and then slather it in trusty duct tape. Get your little one in on the fun by getting them to color the bare parts.
Shield
Trace a shield shape (roughly a pentagon shape) into cardboard, cut it out and paint it. Find an emblem that you like on the internet, print it on paper, and cut it out. Paste the cut out shape centered on to the shield and paint around it until area surrounding the shape is covered. After this has dried, use duct tape to make handles on the non painted side so that the child can hold the shield properly. Cut out strips of duct tape and tape them together to make two non-sticky strips. Make sure to leave some sticky visible on each end of the strips so that you can tape the strips on to the cardboard.
Armor
Draw out two rectangles on to cardboard that you think would roughly cover your child’s chest. Using a paper cutter, cut out the shapes. Hold the rectangles up to your child’s chest to see if they are too big and adjust as necessary. Paint rectangles with silver/grey acrylic or oil paint. Once dry, cut out two pieces of ribbon, thick string or yarn and tape them to the back of each rectangle so they are near the edges and you are thereby connecting the two rectangles together.
Watch out! Make sure the ribbon is long enough so that the armor can go over the child’s head easily. We made that mistake and had to make some adjustments so that Elise wouldn’t detest putting the armor on.
Helmet
Tape two pieces of card stock together lengthways with duct tape. Continue to cover the card stock on the same side with duct tape. Once covered, place the paper around child’s head to see how big the helmet should be. Once measured, tape the two ends of the card stock together so it is now a cylinder shape. The next part gets a little funny.
Put the cylinder shaped helmet on the child and using a marker, draw outlines of what where the child’s eyes and mouth are. Once you’ve managed to get the child to stay still for long enough to do that, take the “pre” helmet back off and cut out the eye and mouth holes. Put helmet back on child to see how it looks and make any adjustments as necessary (bigger eye holes, shorter helmet length, etc). To complete the helmet, use the duct tape to make the top by closing up the top hole. Tape the top and then from the inside cover the sticky side with more tape so that you won’t be ripping out any hair when the helmet inevitably comes off later in the evening.
What we loved about it:
•It was so simple and pretty easy to make. If mistakes were made, they were easily fixed.
•It was so cheap! We had all the materials on hand, which is the best kind of project, in my opinion.
•It was so fun!
What we would improve for the next time:
•The armor: We would have loved to put a symbol on the armor but since it was last a minute creation, we were pressed for time. I would also like to try creating a fabric-based armor best time so that it would be more comfortable and movable.
•The shield: We should have painted both sides of the shield and adjusted the handles. The way Elise held the shield most of the time made it just look like cardboard and you missed out on the other awesome-looking side.

❤


 New Years Eve with toddler Elise=Frozen dance parties, cuddles & bed jumping