0

Moments: A Three Month Wrap Up

So it’s been a heck of long time since I’ve written or posted anything on here. My last post was around Halloween with the details of Elise’s last minute knight costume.

The holiday rush has finally settled and I’m really finding my groove, my place, at my new job (going on 5 months soon!). So now I think it’s an appropriate time to start writing and posting again.

What has happened in the past 3-ish months? Well, for one I have not stopped writing, that’s for sure. I’ve been writing pretty dedicatedly in journals, scribbling away ideas, daily reflections and plotting ways to save the world (or at least the ones around me ;)). And I certainly did not stop taking photos of my irresistible little Elise, who has been going through a “3” stage (3 years old, 3 feet tall and still not quite 30 pounds).

Here’s a visual recap of the highlights of the past three (there it is again!) months:

2015/01/img_1216.jpg
Apple picking at Justus Orchard with Tata Alexandra

2015/01/img_1253.jpg
Corn maze walk at the Eliada Corn Maze

2015/01/img_1228.jpg
Elise’s first day of preschool+the beginning of a crocodile obsession/fascination

2015/01/img_1391.jpg
Preschool Halloween party

2015/01/img_1560.jpg
Tree decorating+kitty pjs

2015/01/img_1579.jpg
The countdown to Christmas illustrated by Tata Lucie

2015/01/img_1693.jpg New Years Eve with toddler Elise=Frozen dance parties, cuddles & bed jumping

2015/01/img_1713.jpg
Elise’s hair is finally long enough for her first braid

2015/01/img_1722.jpg
A mother-daughter-granddaughter day filled with painting fun at Fired Up, a delish vegetarian lunch at the Laughing Seed and some shopping at Elementality

Advertisement
0

A DIY Costume: Knight In Training

IMG_1425.JPG
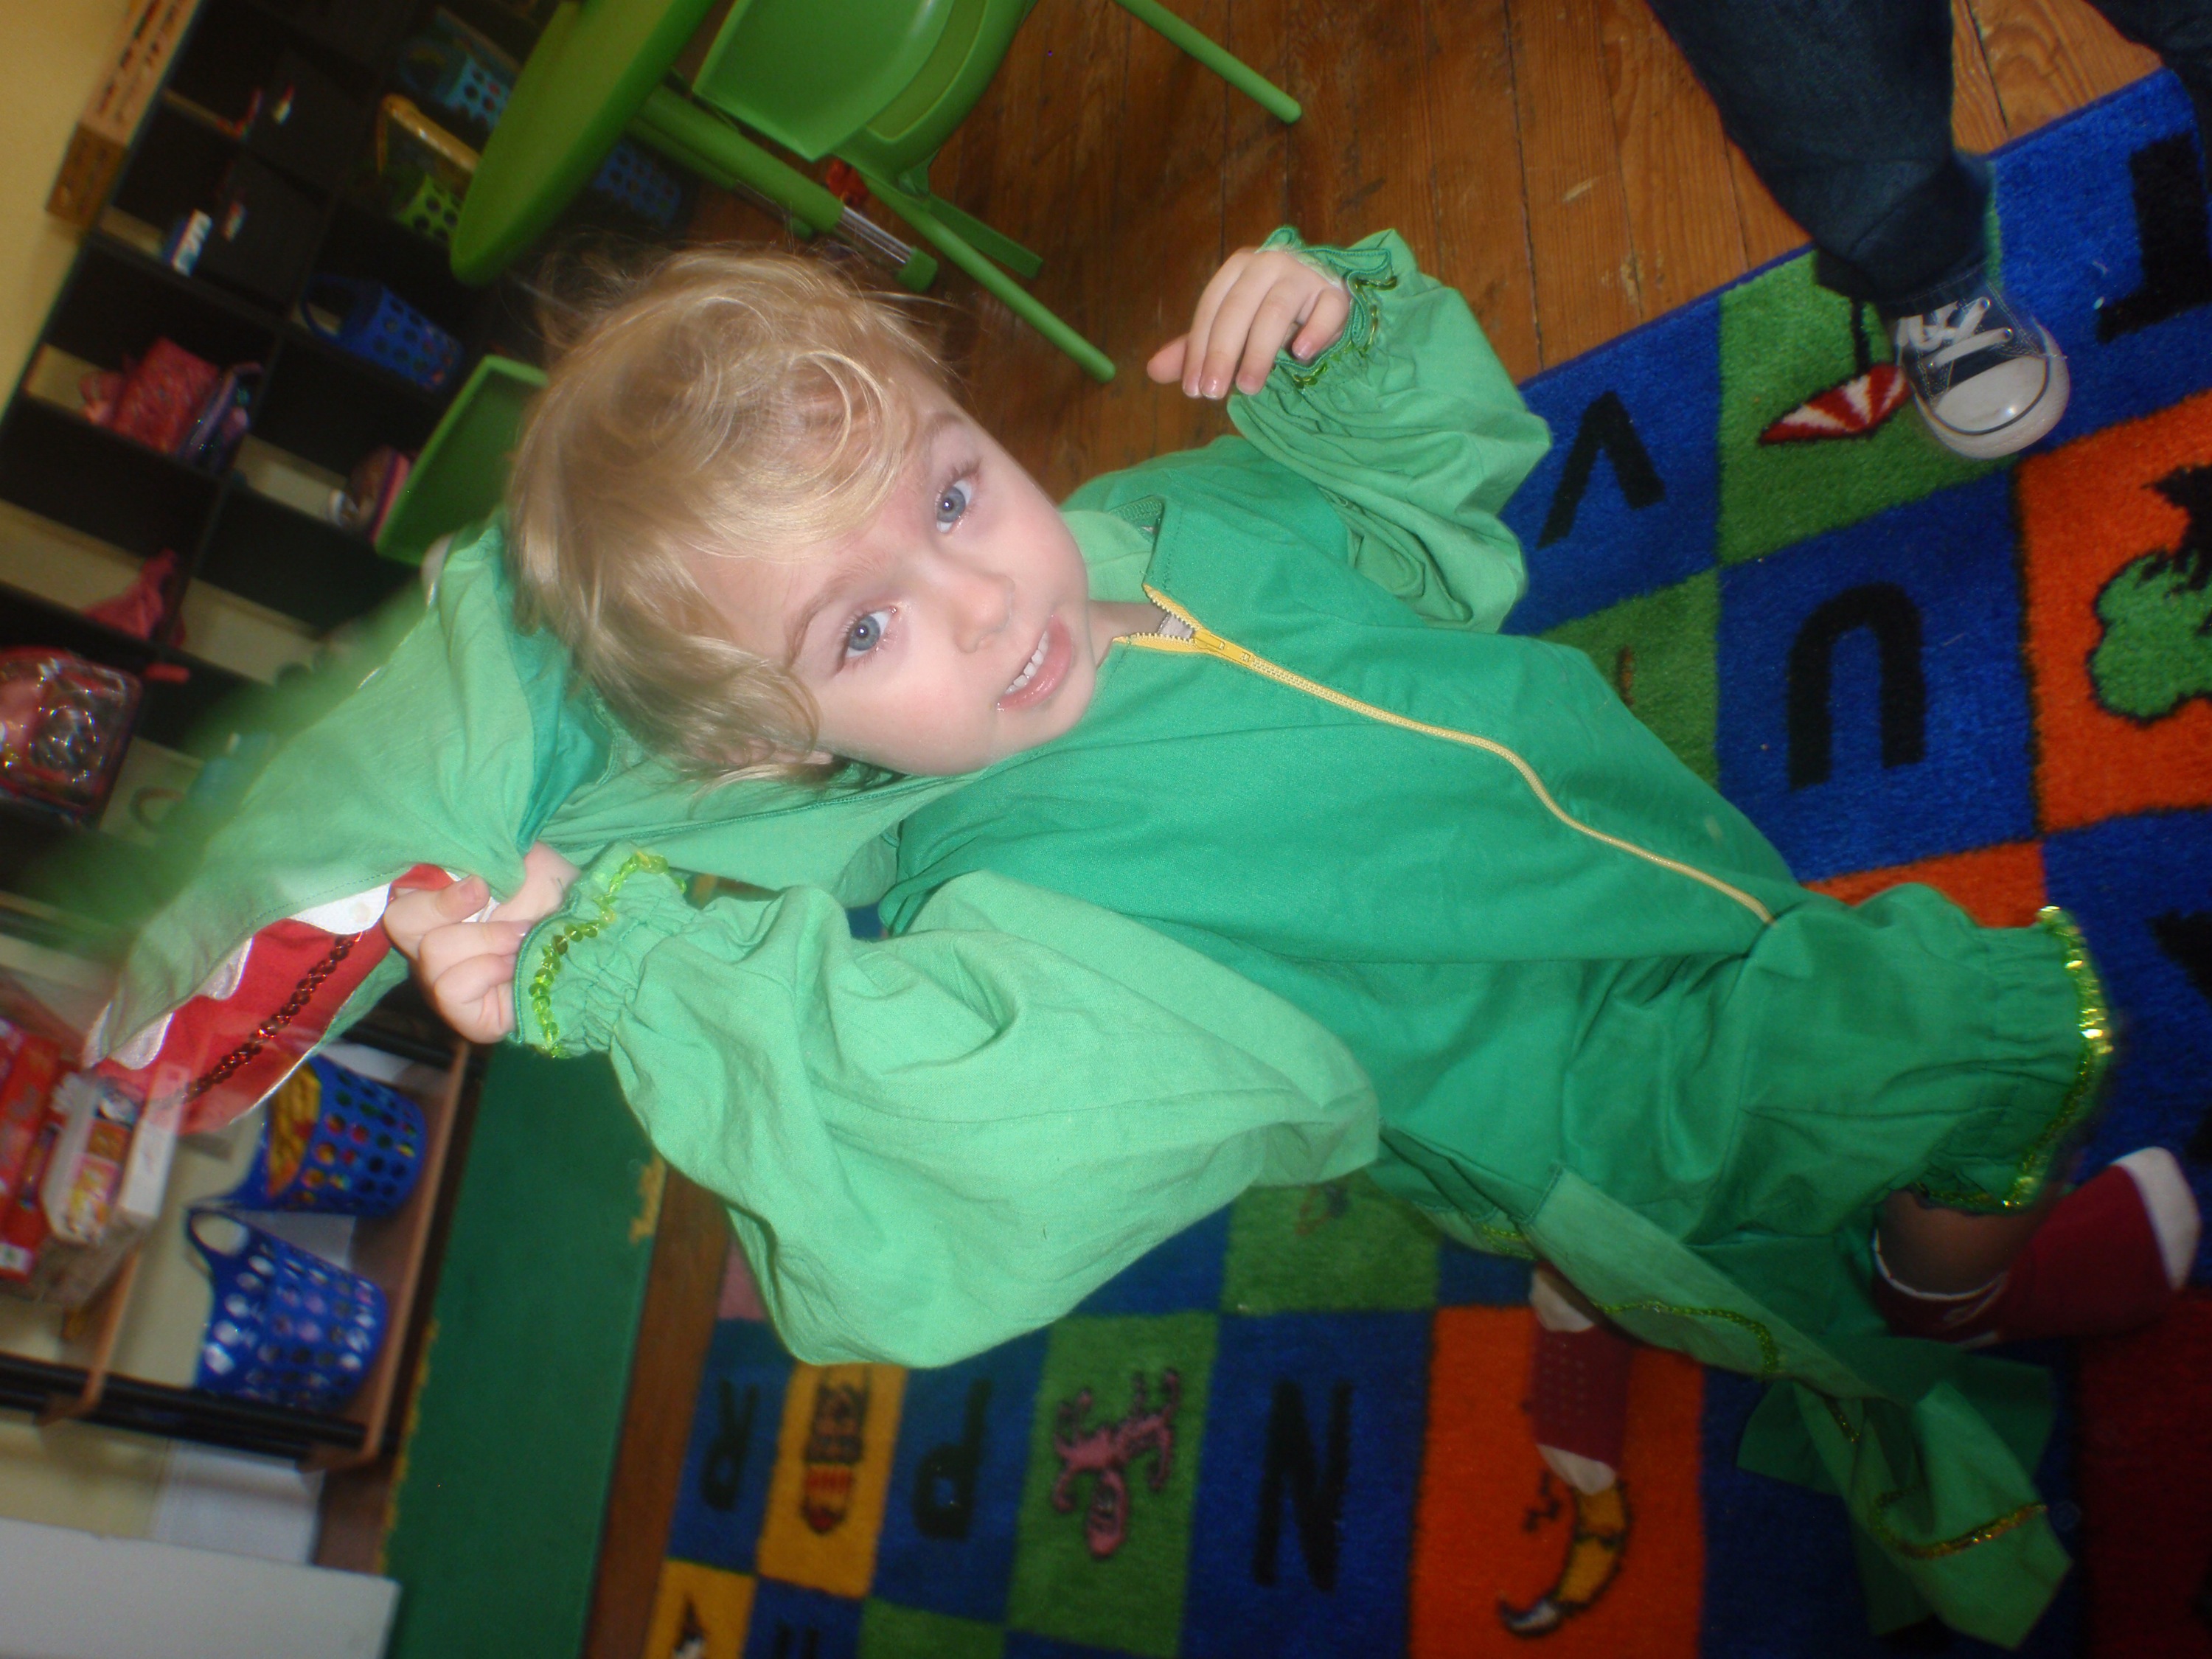
This year, Bastien and I were determined to make Elise’s Halloween costume. We even explained to her that on Halloween you can dress up as anything or one you want to be. And she told us what she wanted to be – a crocodile! (Of all things, she is both scared and excited by).

We even did this with plenty of time to spare so that we could get started in time, but then her birthday happened and her birthday party (that brought in a staggering 30+ people and me swearing that next year we will not have it in our tiny home) and then a whole household of sicknesses that helped us to make excuses for our procrastination.

So with a month full of excuses in our pocket and one week to go before the candy-filled day, Papa Bastien decided he wanted to make a sword out of some cardboard we had lying around. After the sword, came a shield and a realization that it would be a lot easier to make a knight’s costume than a crocodile costume.

So that’s what happened. With our powers combined, Bastien and I made a pretty awesome looking knights costume using only items we already had in our home. I scrounged around her closet and found some sparkly silver tights and a grey hoodie to keep her warm and silvery. Below, I describe how we put it all together.

IMG_1400.JPG
Materials & Supplies
•Medium-weight cardboard (lots and lots of it!)
•Card stock or thick paper
•Duct tape
•Ribbon or thick string
•Scissors

Sword
Trace a sword shape into cardboard, cut it out and then slather it in trusty duct tape. Get your little one in on the fun by getting them to color the bare parts.

Shield
Trace a shield shape (roughly a pentagon shape) into cardboard, cut it out and paint it. Find an emblem that you like on the internet, print it on paper, and cut it out. Paste the cut out shape centered on to the shield and paint around it until area surrounding the shape is covered. After this has dried, use duct tape to make handles on the non painted side so that the child can hold the shield properly. Cut out strips of duct tape and tape them together to make two non-sticky strips. Make sure to leave some sticky visible on each end of the strips so that you can tape the strips on to the cardboard.

Armor
Draw out two rectangles on to cardboard that you think would roughly cover your child’s chest. Using a paper cutter, cut out the shapes. Hold the rectangles up to your child’s chest to see if they are too big and adjust as necessary. Paint rectangles with silver/grey acrylic or oil paint. Once dry, cut out two pieces of ribbon, thick string or yarn and tape them to the back of each rectangle so they are near the edges and you are thereby connecting the two rectangles together.

Watch out! Make sure the ribbon is long enough so that the armor can go over the child’s head easily. We made that mistake and had to make some adjustments so that Elise wouldn’t detest putting the armor on.

Helmet
Tape two pieces of card stock together lengthways with duct tape. Continue to cover the card stock on the same side with duct tape. Once covered, place the paper around child’s head to see how big the helmet should be. Once measured, tape the two ends of the card stock together so it is now a cylinder shape. The next part gets a little funny.

Put the cylinder shaped helmet on the child and using a marker, draw outlines of what where the child’s eyes and mouth are. Once you’ve managed to get the child to stay still for long enough to do that, take the “pre” helmet back off and cut out the eye and mouth holes. Put helmet back on child to see how it looks and make any adjustments as necessary (bigger eye holes, shorter helmet length, etc). To complete the helmet, use the duct tape to make the top by closing up the top hole. Tape the top and then from the inside cover the sticky side with more tape so that you won’t be ripping out any hair when the helmet inevitably comes off later in the evening.

What we loved about it:
•It was so simple and pretty easy to make. If mistakes were made, they were easily fixed.
•It was so cheap! We had all the materials on hand, which is the best kind of project, in my opinion.
•It was so fun!

What we would improve for the next time:
•The armor: We would have loved to put a symbol on the armor but since it was last a minute creation, we were pressed for time. I would also like to try creating a fabric-based armor best time so that it would be more comfortable and movable.
•The shield: We should have painted both sides of the shield and adjusted the handles. The way Elise held the shield most of the time made it just look like cardboard and you missed out on the other awesome-looking side.

IMG_1410.JPG

0

Weekend Wrapup: Girls Beach Trip

Last week I went with a good friend on a mini vacation to the beach! It’s so good getting away sometimes, ya know?

Here’s a little Instagram recap of the trip:
20140623-095709-35829115.jpg20140623-095709-35829504.jpg We went to Hilton Head Island for a few days with a very simple and straightforward plan: go the beach, lay on the beach. Period. No sight seeing, no clubbing, no running around like a chicken with its head cut off trying to fit in a ton of things. Just beach time, pure and simple.

And that’s what was done. Laying in the sun, we read books, magazines and our kindles (have you read #girlboss? If, not – do it now). We sipped on simple gin+sparkling water+fruit drinks and ate wraps filled with roasted pork and kale+quinoa salad I had made beforehand. We floated in the ocean, meditating as we hung out with the waves. And repeat.

Simple, no?

It was a little slice of heaven (despite the crowds and the sun-burnt skin). And we never wanted to leave.

Are you planning a vacation like this? Where the to do list is short and the relaxing is long?

I hope so. 🙂

0

4 Awesome Things

Today’s awesome things post was intended to be all about fathers gifts and activities, but I quickly got distracted. So, here’s what is catching my eye this week (father’s day and otherwise):

20140613-112320-41000675.jpg Pop Art for the Pops

20140613-112438-41078189.jpg Kids Cardboard and Paper DIY Toys

20140613-112548-41148375.jpg A Party to Aspire To

20140613-112649-41209847.jpg Greek Summer, here we come

This weekend, I’m heading to good ole Rocky Top Tennessee to visit and celebrate family and relax in the sunshine. What will you be up to this, hopefully, gorgeous weekend?

0

Petite Famille Update

This weekend was packed full of fun. Not only did the hub and I have a three-day weekend, but my sister in law and her tribe came for a visit. Top it off with hanging out with some great friends who are leaving us for the big city, and it was one non-stop weekend!

It started with a potluck and swimming…
20140526-225239-82359753.jpg
And then a hike with #toddlerelise, two crazy dogs & 3 couples (and a thunderstorm) + so.many.ribs
20140526-225910-82750563.jpg
And lastly, a lovely lazy day with lots of walking and a trip to our local nature center.
20140526-225524-82524921.jpg
It was a truly eventful, yet lovely long weekend. One of the bests we’ve had in a while.

0

Simply easy DIYs for a Simple Wonderful Weekend

Sometime in my life I started appreciating pink and shades there of. (I personally think it was sometime around when little E was born – people can’t help but get little girls pink clothes despite the protests of this mother). Recently I’ve realized that this initial tolerance turned into appreciation and more lately it seems I really like it! Not a lot of it, grant you – but pops

Below, you’ll notice this trend throughout these photos. C’est la vie.

20140503-165535.jpg
DIY Clothes Hamper

20140503-165728.jpg
Pretty Pink Calligraphy

20140503-165910.jpg
Homemade Margaritas

The weekend is here and it’s beautiful again. I shall be taking deep sips of the above drink and relaxing on my porch while I soak up the fresh air. What are your weekend plans, lovelies?

0

Hello! I am still alive & crazy about DIY!

20140408-115519.jpg

I know it’s been a while but I did mention that it might take me a while to get back into the blogosphere after starting back into the 9-5 grind, didn’t I? 😉

Well, I’m back now, so here we go.

Picture One: I’m totally in love with this picture of my little E. She has gotta be the most tenacious, strong willed little girl I know. Since I’m back to working full time, I’ve realized just how much I enjoy being with her, watching her grow and learn and be the most amazing person in the world.

Picture Two: I know I’ve shared this photo-quote before, but it is definitely my daily mantra these days. (I’m so sad to report that I can’t find the original link right now.)

Picture Three: This St. Patties Day themed cake is so past due, but ohmygawh, isn’t the prettiest and tastiest-looking thing?

20140408-115427.jpg

Picture One: I really, really adore backdrops, and really pretty, frilly ones especially. But the texture of this is to dyi for – har har. I would seriously decorate my apartment with this!

Picture Two: So I’ve made dough ornaments before but I’ve never tried my hand at magnets. Same concept, just a different use.

And Picture Three: Ok, so it seems like I may be really jonesing for something sweet, eh? These beautifully-colored doughnuts should be in my tummy. Now.

So I hope you’re still around, friends, because I really appreciate you stopping by. It’s nice to have some company to talk about the pretty, precious things in life.

Have a fabulous day! ❤

0

Weekly wrap up: Craft Parties, Snow, Let’s Celebrate & Getting Ready for Spring!

A few things I made, read or discovered this week:

This week was, of course, all about that big lovely dovey Valentines Day. I was supposed to have a craft party on the eve of valentines, but the weather in these parts have been wild, crazy and snowy, so it was sadly cancelled. But I did get to make a valentines day party photo booth backdrop that I was absurdly proud of.

20140216-220348.jpg

Tried out this mini love messages project this week. It was really lovely in theory but really had a problem at the end.

My party decor shop (Celebrate!) is now live on Etsy! There isn’t much on there yet but just excited that its coming together.

Another shop that went live this week was frolick and whimsy, my mother’s knitted clothing shop for the kiddos.

I’m a huge fan of simple projects, but maybe I can break out of my routine and challenge myself a bit with this lovely crepe paper flower.

It’s a little early to start thinking about plants and gardening, but I love this project to make a DIY cement plant post!

These watercolor paper flowers are gorgeous.

I loved watching this amazing video that is all about some geometrical heart love.

0

Creating a Romantic Mood on the Cheap: DIY Wine Glass Shade

20140208-135944.jpg

The little things, y'all. It's all about the little things you do.

And this little project to make some sweet wine glass shades so that you can set the mood for your special someone, is exactly the kind of little thing you can do to make any evening a little more special.

What are your Valentine’s plans this week? I’m definitely into sharing the love with all the special someones in my life during this sweet, mushy time of the year. 🙂